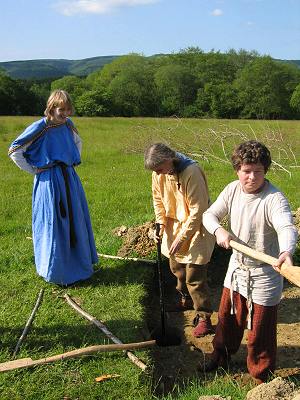
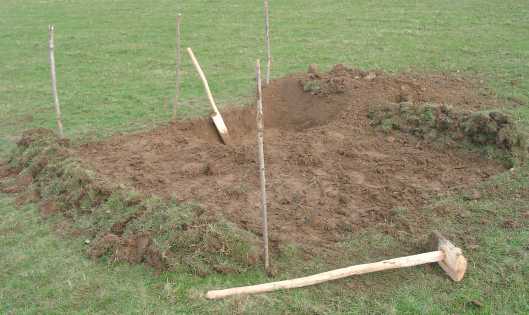
After the first day's digging.
A very characteristic Anglo-Saxon building is the sunken featured building or grubenhaus which is built over a shallow pit. There is considerable dabate about the method of construction, particularly whether there was a suspended floor above the pit. We chose to reconstruct this building as a simple workshop without a suspended floor.
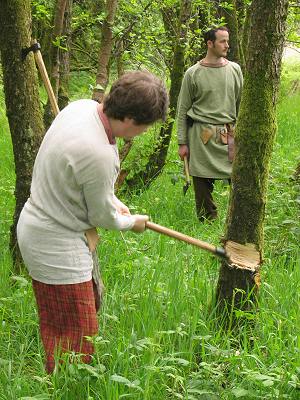
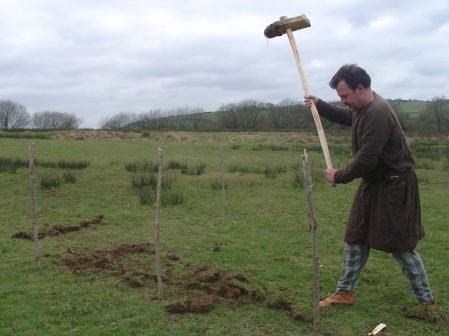
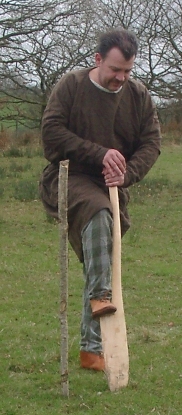
The building measures 3.1m x 2.4m based on evidence from an Anglo-Saxon settlement site excavated at Chalton, Hants. Evidence for the depth of the pit is limited, but the best estimate is 45-60cm. It is dug using a mattock to strip the turf and break up the hardest ground and a spade to dig out the earth. The tools are surprisingly effective - after 3 man-hours the turf was stripped and about one sixth of the pit dug to the required depth.
|
|
After the first day's digging. |
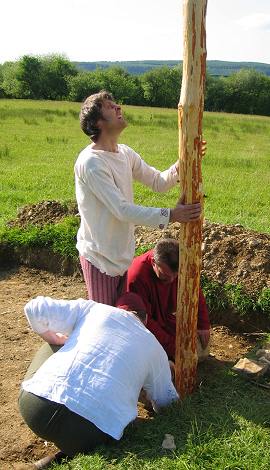
Erecting the building frame
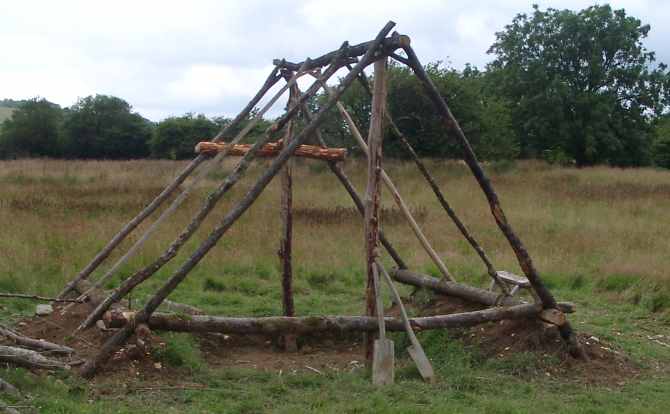
The main frame of the building is a simple A-frame constructed of timbers of various diameters in the round. There are no foundations, rather the two main uprights are sunk into postholes in the ground. The roof runs nearly to ground level so the wall plates lie directly on the mounds of spoil dug from the pit. This construction gives the maximum usable area in the eaves of the building without the effort of constructing side walls capable of taking the weight of the roof and is entirely consistent with the archaeological evidence.
|
||||||||||
|
||||||||||
 |
 |
|
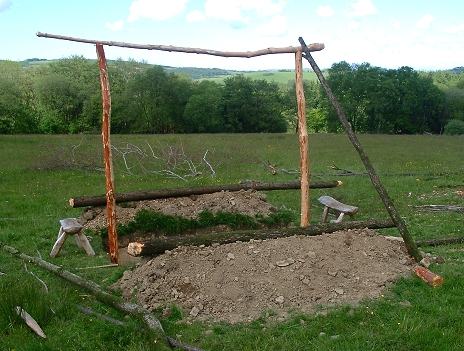
The frame of the grubenhaus nearing completion. All
the structural timbers are now in place.
|
The joints are simple laps secured with pegs.
|
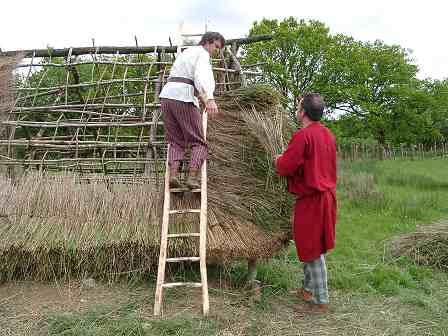
Thatching
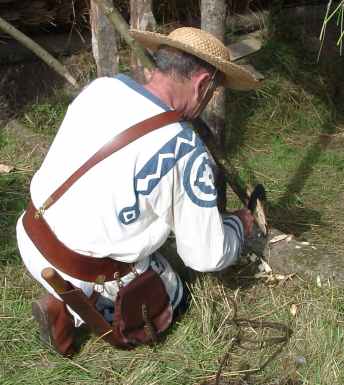
The roof of the building is thatched. Cutting the thatch was by far the most labour intensive part of the whole building project.
 |
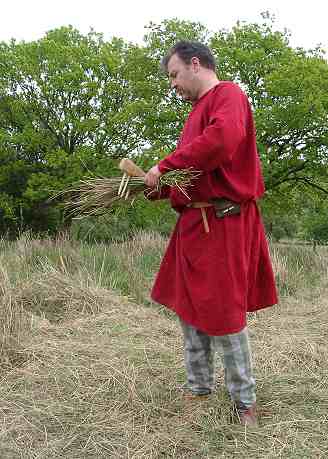 |
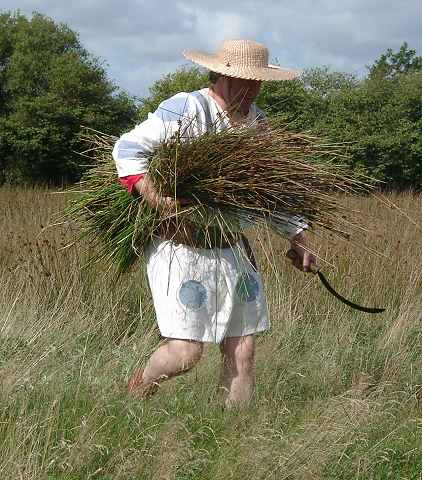
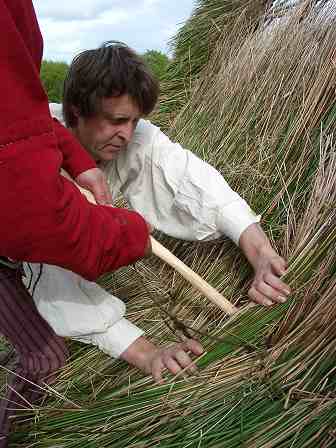
| The building is thatched with rushes which grow in the adjacent field. These are cut by hand with a sickle. | As the rushes contain lots of grass stems these are combed out using a wooden hand rake. |
 |
 |
|
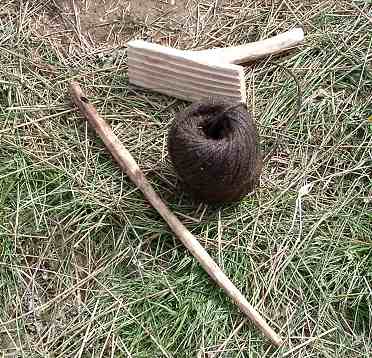
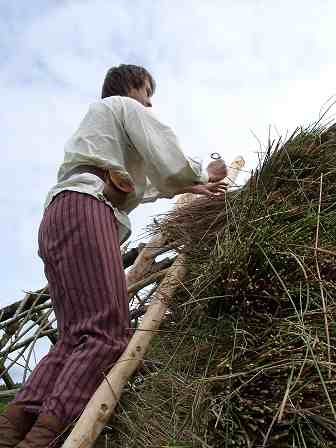
The tools for thatching are very simple. The reeds are
secured using tarred hemp cord. A wooden needle is used to 'sew' bundles
of rushes to the frame of the roof. Finally the base of the bundles are
forced into place using a leggat.
|
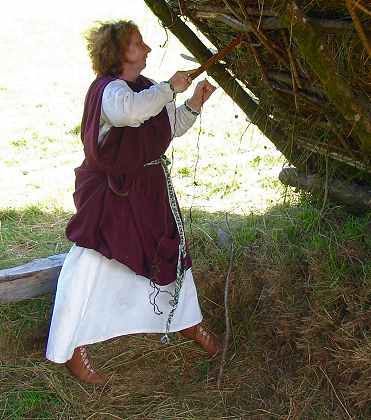
The roof was prepared for thatching by covering it with
a framework of interwoven hazel rods onto which the thatch is tied. The
first course of thatch runs across the bottom of the roof and up each
side.
|
 |
 |
|
Each bundle is tied in place.
|
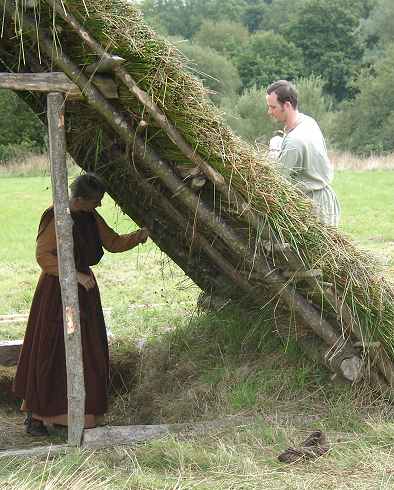
The second and subsequent courses just run horizontally
and merge into the bundles at the sides. As they overlap the lower courses
the needle is used to pass the thread through. Two people are needed,
one inside, one outside, but it is even quicker with three.
|
 |
 |
|
Thatching - the inside story!
|
The thatch nearing completion.
|
 |
|
|
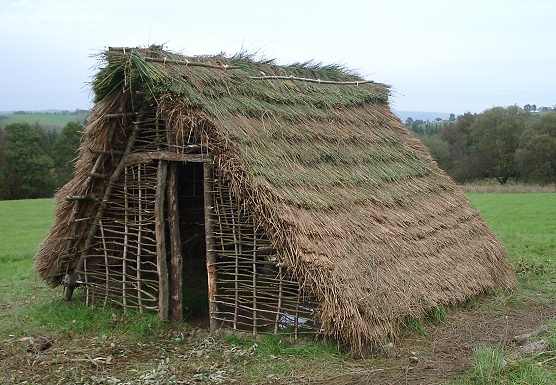
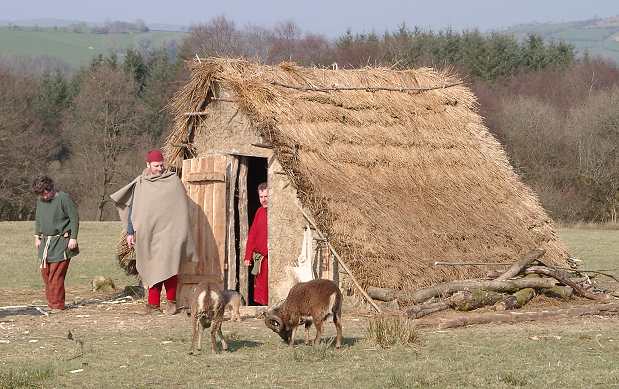
The thatching complete. The ridge is capped with bundles
bent over the crest and secured using hazel spars and broches (staples)
since they are exposed to the elements where cord would perish.. The end
walls have been filled in with wattle.
|
|
Wattle and Daub
The two gable end walls are filled with wattle and daub. Wattle is a simple framework of wood poles onto which daub, clay mixed with a fibrous material (straw, wool or animal dung), is applied. It is a remarkably simple technique - the main effort is in digging and moving the large amount of clay required.
 |
 |
 |
|
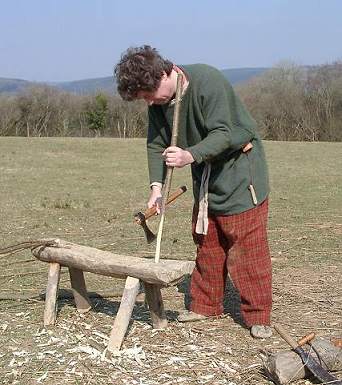
Notches are cut with a chisel to hold uprights of the
wattle.
|
The ends of the uprights are squared off to fit with
a bill.
|
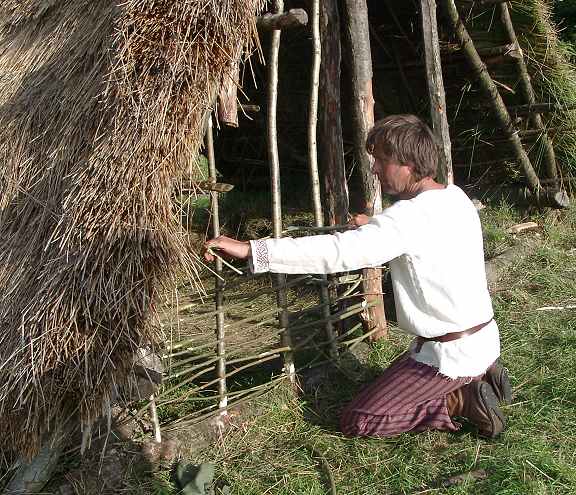
Willow witihies are woven between the uprights to form
a screen.
|
 |
 |
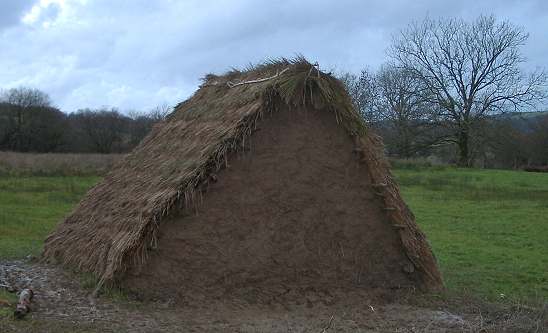
| The daub is mainly clay, with rushes and wool from the Soay sheep used to bind it together. It is all mashed together with lots of water to form a sticky mess which is then applied by hand to both sides of the wattle frame. | |
 |
 |
|
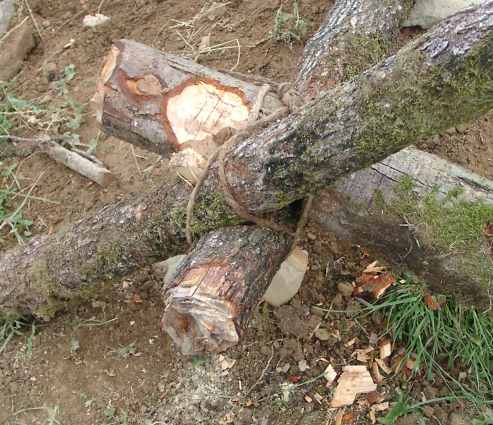
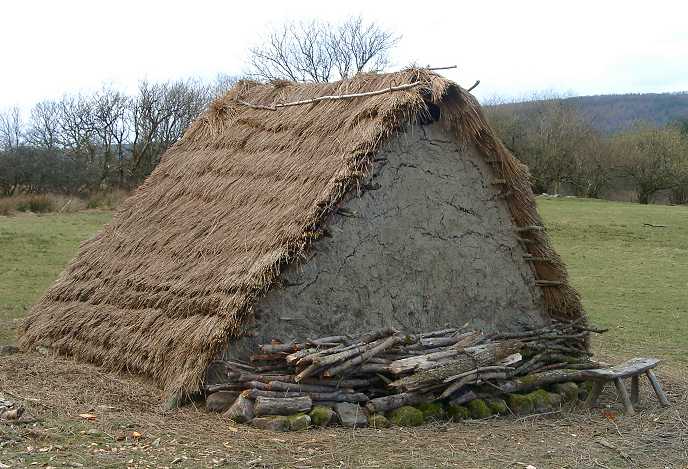
After a few months the clay has dried. A few cracks
appeared which were simply filled with more daub. A log store has been
started in the lee of the building. The Anglo-Saxons wood have used small
diameter coppiced wood and fallen branches for firewood, rather than larger
diameter timbers, due to the ease of processing.
|
|
Making the Door
The final task was to make the plank door.
 |
 |
|
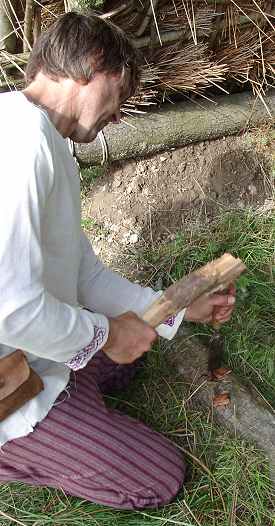
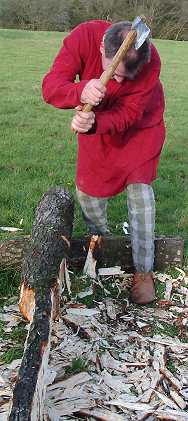
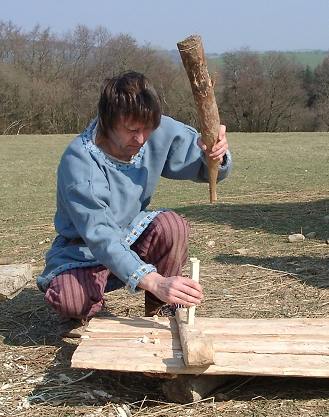
The planks for the door were roughed out of a length
of round wood by cutting notches at intervals along the length and then
removing the waste between the notches..
|
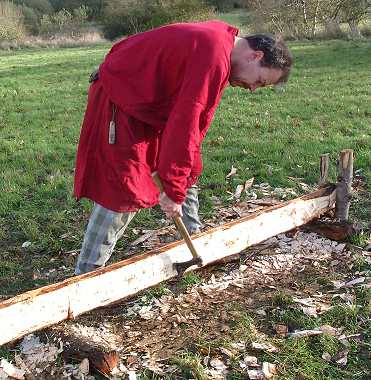
The rough planks are then squared and smoothed.
|
The planks were cut with a simple V shaped toungue-and-groove, evidence for this comes from surviving late-Saxon church doors. The planks were held together with four ledges attached with square wooden pegs or trenails, literally 'tree-nails'. The hinges comprised simple L-shaped iron pins - two of the braces extend beyond the face of the door and fit over these pins.
 |
 |
 |
|
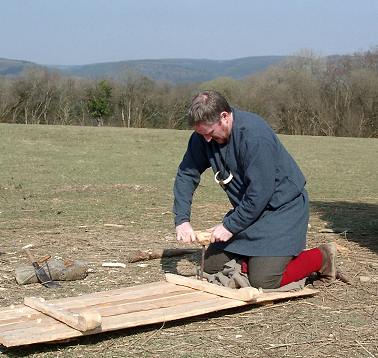
The holes are drilled with a spoon bit.
|
Trenails are trimmed to fit.
|
Getting square pegs in round holes takes a bit of force!
|
 |
||
|
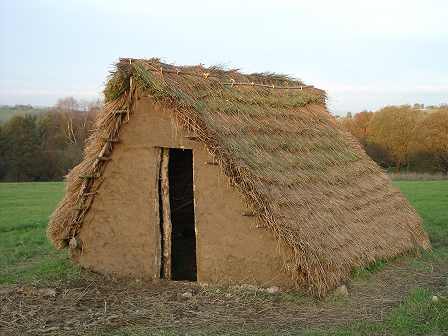
With the door in situ. The grubenhaus is complete!
|
||
![]() Back to the living history page.
Back to the living history page.